
Remember how in Part 1 of my bedroom makeover journey I yearned for better storage? After some intense research I had page-upon-page of inspiration - here are some of my favourites:

Pigeon holes, like these from Etsy, are a great storage solution if you have lots of clutter little random bits and bobs like me. They can be pricey, but if you have a basic knowledge of DIY then it's easy enough, if time-consuming, to make your own.

Drawers (like these from Home Barn Shop) are an obvious option when it comes to storage, but how EXCITING are they when there are bajillions of them?! Drooling massively.

Shelving and jars, a dream combination as Crafty Nest demonstrates. This particularly appeals to me as a textiles gal with a lot of small odds and ends like buttons, beads and thread.


This suitcase/pigeon hole combo, featured on Love of Interiors, is beyond impressive. The amount of time it must have taken to design and create such a structure is incomprehensible. How unique!
Ingenious storage solutions don't come cheap, but I was lucky enough to be blessed with one of my own (for £0!) just weeks before I began re-designing my bedroom - let's just say I had one of those 'in the right place at the right time' movie moments...

...Ohhhh yeah!
I had a couple of months of sixth form left, and arrived early for an art lesson. My two teachers were already in the classroom, discussing the refurbishments that had happened over half term. I caught the part of the conversation where they said they were chucking out one of the old plan chests, and there was no stopping me from jumping in to save it.
The bottom drawer had been very badly damaged when it became jammed, almost beyond repair (which is supposedly why they were getting rid of it), and the lid was cracked in two, but nothing a bit of TLC couldn't sort out.

Look at that lovely, solid wood...so full of potential!
The Fix-Up - Day 1.
I took one drawer out at a time, ready to be prepped:

Some of the stickers were severely faded and yellowed with age...it excited me to think of how many people had used this chest over the years!

You can sort of see the mouldy white sheeting at the back of the handle, which I promptly unscrewed on both sides...

...much better!
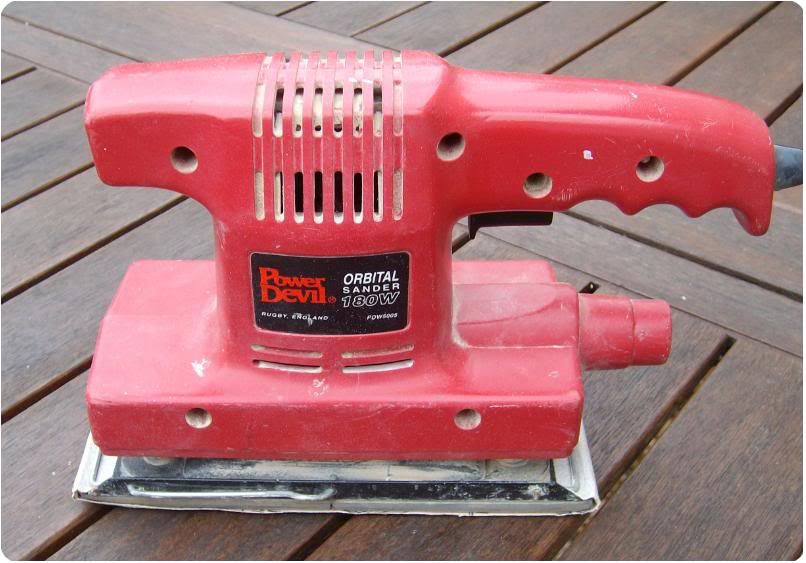
I then went on to use this sander...machine...thing of my Dad's to lightly smooth down all of the sides:
As I expected, this did very little for the front of the drawers, especially those darn stickers which were clinging on for dear life. I took a leaf out of Kim and Aggie's book (who else used to watch 'House Clean is Your House'?) and used a combination of boiling water and fairy liquid to lift the stickers before attacking them with various tools...

...and it took me AGES, simply because I had to peel off sticker upon sticker upon sticker - in this instance, revealing the name of 'Sharon Ford'. Also, as odd as it may sound, I have a bit of a weird thing about touching peeling stickers, so I felt pretty brave (...go ahead, laugh at me!)

As you can see, this scraper lifted up a lot of the old varnish, but not all of it. I concluded after doing this for nearly two straight hours on the front of the first drawer that I'd need to manually sand it later.

I *finally* finished the first drawer after many hours of work - sanded and scrubbed 'til it was squeaky clean. My cat, Hunter, showed his appreciation by sitting in it whilst it dried.

And then there were two...I was so proud of how they turned out! It's all I could manage in one day because it's such tiring, physically demanding work.

My neighbour Bella appreciated the cleanliness.
Day 2.

Some hours of hard labour later and...tah dah! It really paid off - the surface was in perfect condition to paint as I desired.
Day 3.

I laid down some old sheets in my room and pulled out the drawers at varying distances, allowing me to access the fronts from different angles for painting.

I began by painting it in one coat of Dulux Primer and Undercoat. This gives the wood a good base for your final colour choice, and dries very quickly. As you can see, I got a bit carried away and started painting the insides of the drawers too...

That night I applied a second coat, as I found that I had a lot of paint to spare.
Day 4.

Now for the exciting part! After much deliberation, I decided to splash out on some Farrow and Ball interior wood paint, given that the plan chest was free 'n all. I picked 'Clunch' as my colour choice, because 1. it was a natural, subtle off-white shade (which is what I desired for the main bulk of furniture in my room) and 2. I found the name hilarious.

After two coats, this was the outcome. The lack of lid also influenced a eureka moment - making the top drawer into a lightbox for design purposes. After having this piece of furniture in my room for about a year, it was relocated to our dining room after being replaced by an even more gorgeous chest of drawers (which I'll discuss in a future post).

In its pride of place in our back room - my dad now uses it to organise his work files. I love how the frosted perspex lid (which I got cut to size from The Plastic People) gives it a modern edge. This was my first official furniture makeover, and I'm very proud of it! Especially when I think she was destined for the skip.
Stay tuned for Part 3: The Fireplace Wardrobe!
No comments:
Post a Comment