Anyone who has painted something in their lifetime, be it a wall or a piece of furniture, will know that decorating is not cheap. It's for this reason that I'm constantly on the lookout for second hand materials, be it on eBay, Gumtree, Freecycle, Preloved - the list goes on.
Two weeks ago some paint advertised in my city caught my eye, although it's not what I usually look for:

Protek is wood stain for sheds and other exterior woodwork. These 5L tubs retail at £22.99 at a time - mine were £10 for the two on Gumtree. One had only been used as a tester, so they were both pretty much brand new. I can't resist any opportunity to decorate, and at such a cheap price it was a sealed deal from the start.
Day 1.

We have three sheds in my garden, and they had all seen better days. They were painted years and years ago in a dull brown, which had worn off in many areas. What's more they're patched up in many places with ugly grey roof felt to prevent rot. In an ideal world they would all be replaced, but that would cost a lot of money and be wasteful. For £10 I was determined to bring them back to life.

As you can see, the wear was pretty extensive and ugly looking. My aim was to turn these sheds into pretty features rather than blots on the landscape.

The first task was to remove the hardware from the wood. This would make painting much easier, rather than having to go around them.
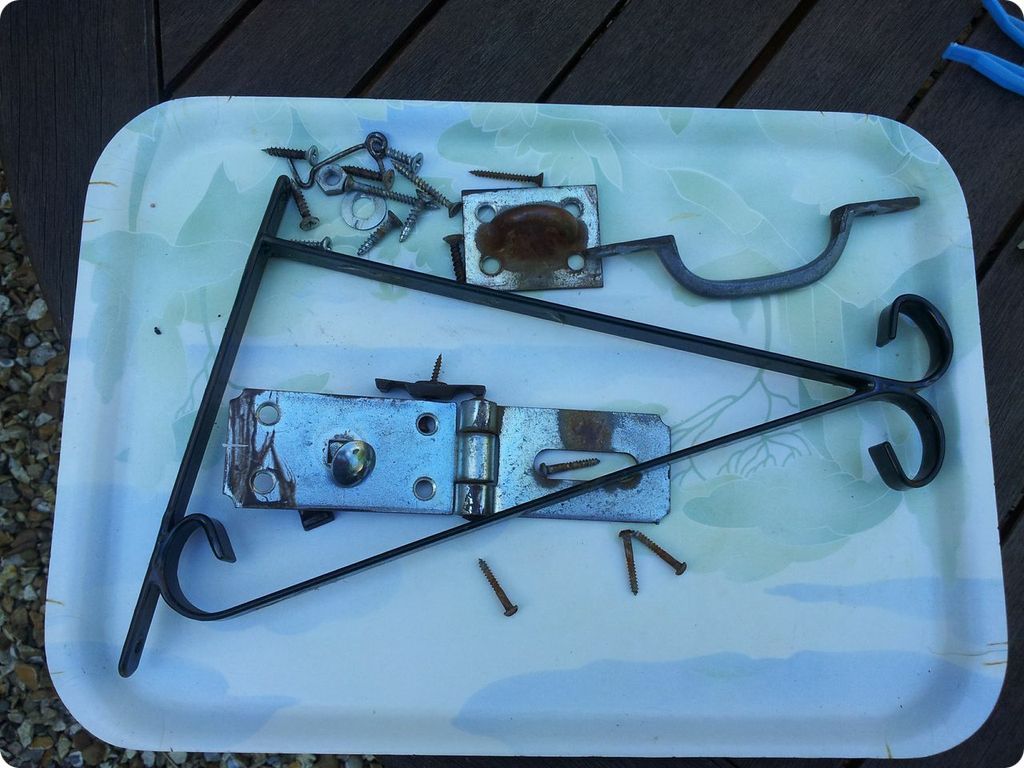
All of the pieces removed, rusty and grim. I had a little plan in store for them later!

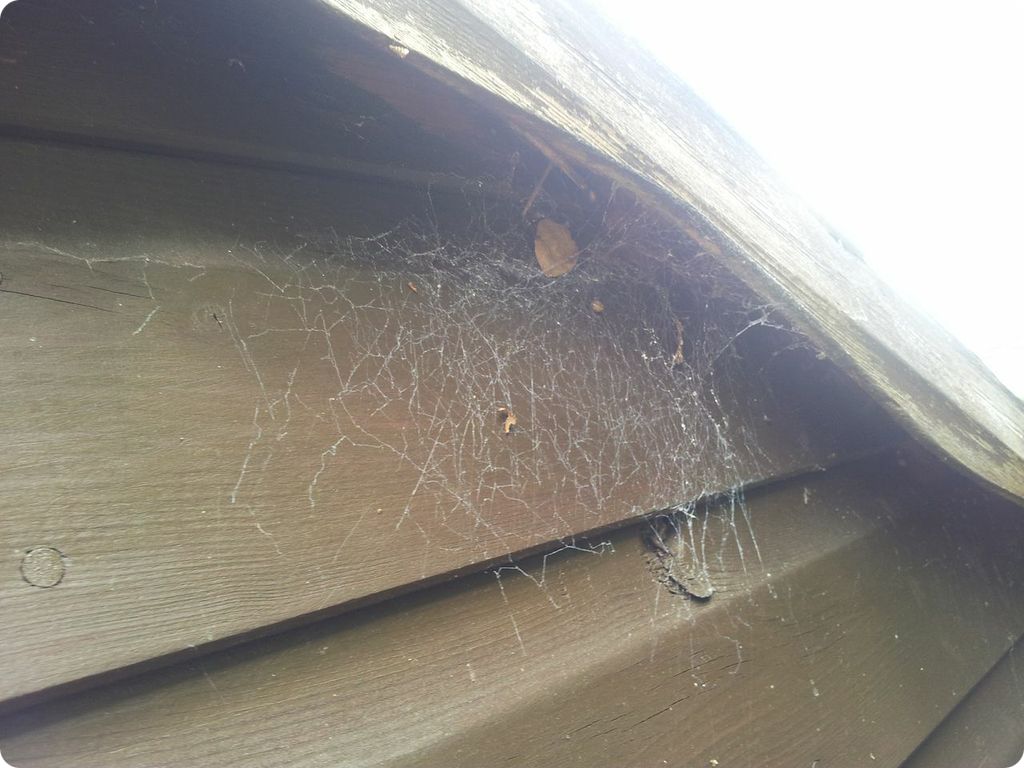
I then brushed down the sides, ridding it of cobwebs and lurking creepy crawlies. Much bravery was required for this stage!

I continued to sand down the sides, giving the paint a good key and creating a more even surface. To be honest, as sheds are made from wood with a large, rough grain this stage isn't all that important, but being a perfectionist I did it anyway!

I cracked open the first pot and gazed in awe at the glorious colour. Pea soup, anyone?

This was the result after the first coat. It looked extremely patchy at this stage, but regardless of this I was delighted and excited to apply the next one. As you can see I masking taped around the grey felt and the windows to prevent getting paint on them.
Day 2.

On the second day I applied yet another coat. As you can see the brown was still slightly coming through, so I had to grin and bear the fact that a third would be required if I wanted perfection.

It was touch dry super-quickly, and only required a couple of hours drying time between coats, so I applied the final coat on the same day. So worth it!

Now, remember how I said I had plans for that hardware? During painting the shed itself, I was building up layer after layer of Hammerite spray paint on these babies. We had about half a can of white left over from another project, so I thought I'd put it to good use for the finishing touches.

A big 'woop!' for the finished result! Painting the hardware definitely gave it that glamorous final touch. Yep that's right, I called a shed glam.

It's pretty remarkable that somehow the green makes the ugly grey felt sides look alright.

A little close-up on the lock and handle. Aren't they pretty?

The back, as pictured earlier, was probably the most worn out side, so I was especially happy with how it looked after three coats.

After painting two coats on the big shed, I thought I'd start the little one that same day. Call me crazy and I shall happily agree.

I wasn't far into the process when I decided that I hated that little felt flap and it couldn't stay. It was nailed up there to prevent water getting through a gap in the door, but there was definitely a more aesthetically pleasing option available.

So I pulled out the staples, pronto. As you can see, annoying gap due to some sort of movement in the wood.

All I needed was some scrap wood, a couple of tools and three screws to sort the issue out. So satisfying!

After one coat I had truly had enough. Despite the small surface area, it took me longer to paint than the massive shed due to how rough the wood was.
Day 3.
On the third day I woke up extra-early to ensure that all required coats were applied. I still had one shed to go - there was no time to lose!

After the second coat the colour still looked very uneven, and I anticipated that four coats would probably be required.

After three coats - still not perfect as I expected. My sister arrived home from a 3 month road trip shortly after I finished this coat, so I decided that the fourth would have to wait!
Day 4.

I was chuffed to finally apply the last coat of paint on day 4. There was just enough spray paint in the Hammerite can to fix up the hardware too. I was particularly pleased with this one, as it was such an eyesore to begin with.
Day 5.
I was admittedly pretty fed up with painting sheds after having finished the little one, so took the rest of day four off before beginning the third.

This shed (once a playhouse) is 13 years old and probably the least used, so I was pretty anxious about what might be lurking in the crevices when I brushed it out.
There were places that I didn't want to go, but I had little choice. Eurghhh.

Once I had painted one coat I felt a bit bolder. It was actually quicker to paint than the small shed, as the grain of the wood was much smoother.

I made the decision to remove the door as well, as I wanted to paint around the frame properly to help preserve the wood. At such an age, it needed all the protection it could get against the elements in order to last.

An issue I faced was that the screws on the hinges were incredibly rusty, leaving me no choice but to drill through them in order to remove the door.

After two coats it was looking much nicer, and I was pretty confident that only a third would be needed.

In the meantime I had been prepping the hardware to be sprayed. Although I had ran out of Hammerite white, I found an almost-full tin of black at the back of our paint cupboard. Although it didn't conform with the other two sheds, it was better than nothing!

The plastic vents on the sides were yellowed by the sun and tarnished with brown paint, not at all easy on the eye.

By the evening I had given the shed three coats and began re-attaching the hardware. I was thrilled with the result, and loved the black against the green. The little touches like the number 41 just made it.

The finished result! The air vents were much-improved in black.

So, within the space of five days I managed to paint three sheds - that's 14 coats of paint. And the remarkable thing is that I still had some left to spare in the bottom of my first tub. I thought I'd easily need both of them, but the coverage was fab, leaving me an entire pot left for years to come.
I had never used Protek before this, but I'd definitely recommend it - a little goes a long way! The garden now looks brighter and more cheerful because of it.
My next task will be to clear them out, as over the years they've become dumping grounds for unwanted stuff. (Don't worry though, I am certainly having a break inbetween)
If you're thinking of revamping your sheds this summer, I'd love to see the results; reblog and post me a link in the comments section!
No comments:
Post a Comment